Recent posts
 wood elves
Maple Highgrove & Swiftvine Glimmershard
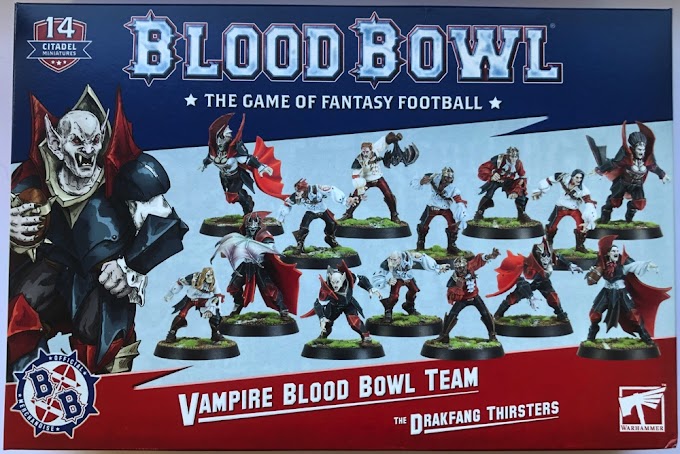
There are a lot of rumors floating around about a new edition of Blood Bowl. It has been 5 years since the Blood Bowl 2nd Season Edition cam...
Read more ogre kingdoms
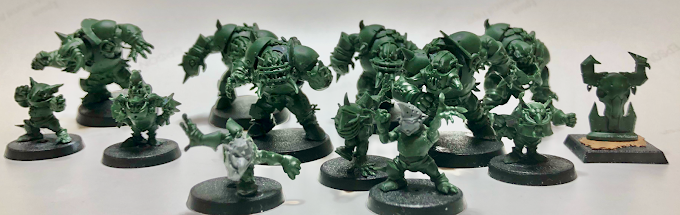
Ogre Team Booster and Diversity
As promised, here is an unboxing of the Blood Bowl Ogre team booster pack from Forge World. It was released in 2020 but seems to have been d...
Read more ogre kingdoms
The Fire Mountain Gut Busters Ogre Blood Bowl Team
I’m continuing to go through my backlog of released teams. My hope is to provide a comprehensive catalog of each team, their transfers, ins...
Read more in the box
The Doom Lords Chaos Chosen Blood Bowl Team
This will just be a quick Blood Bowl in the box post today since I'm abroad in Japan. 今日は日本にいるので、ブラッドボウルのチーム開封について簡単に投稿します。 I hope that...
Read more in the box
Classic 2nd Edition Chaos Dwarfs
Just after Christmas Games Workshop put up some second edition Blood Bowl models as made to order. These were remakes of models originally r...
Read more